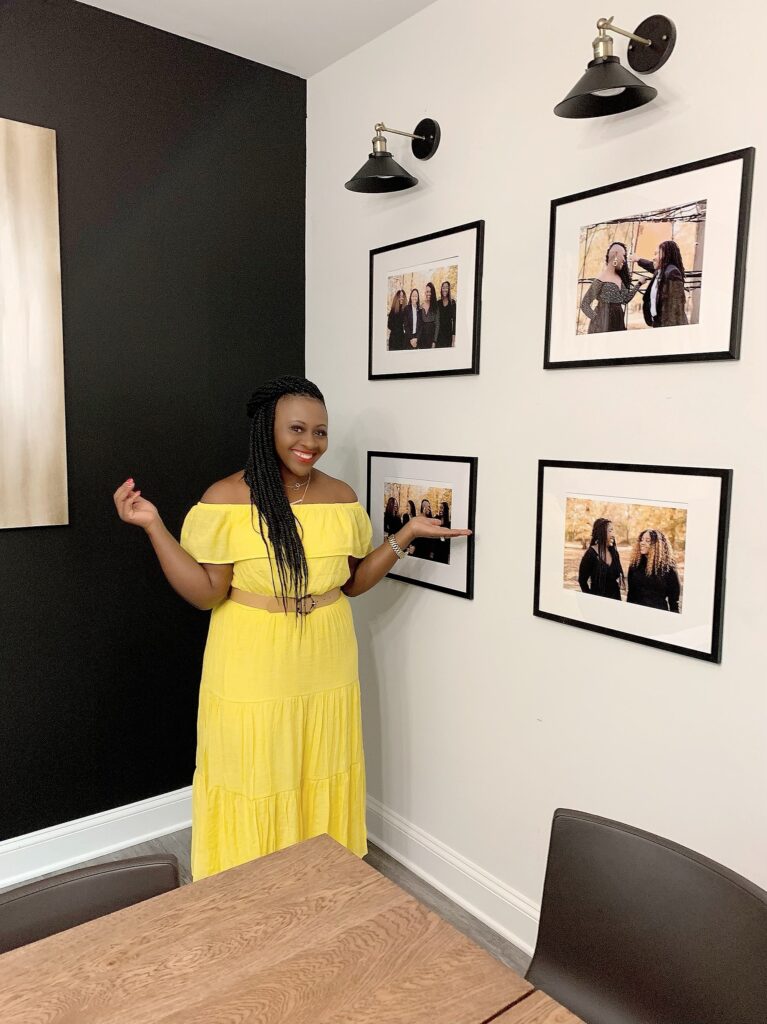
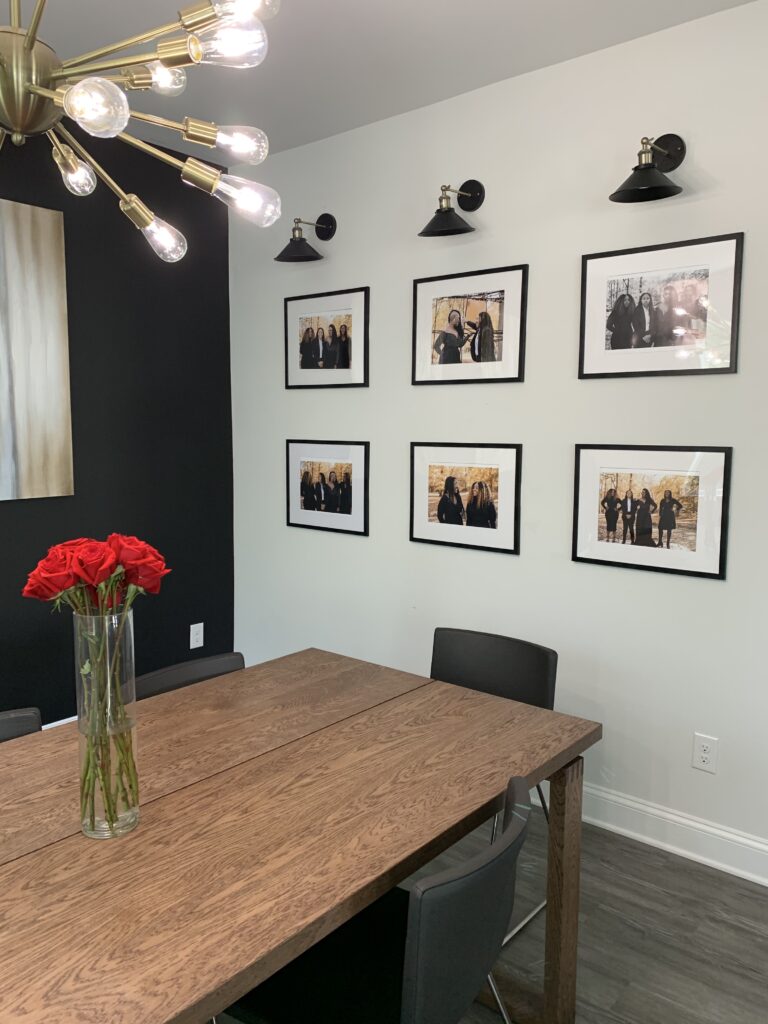
Gallery walls of your favorite family portraits can make a great statement in any space of your home. It’s also an excellent way to bring in a certain color or finish. In my latest upgrade to our dining room, I wanted to bring more black into our dining area. The color palette I was going for was a layering of with black and white with a pop of color. So I selected inexpensive black frames with mattes and a combo of color and black and white family images to incorporate those colors.
So let’s jump into these quick and easy shortcuts for hanging the gallery wall.
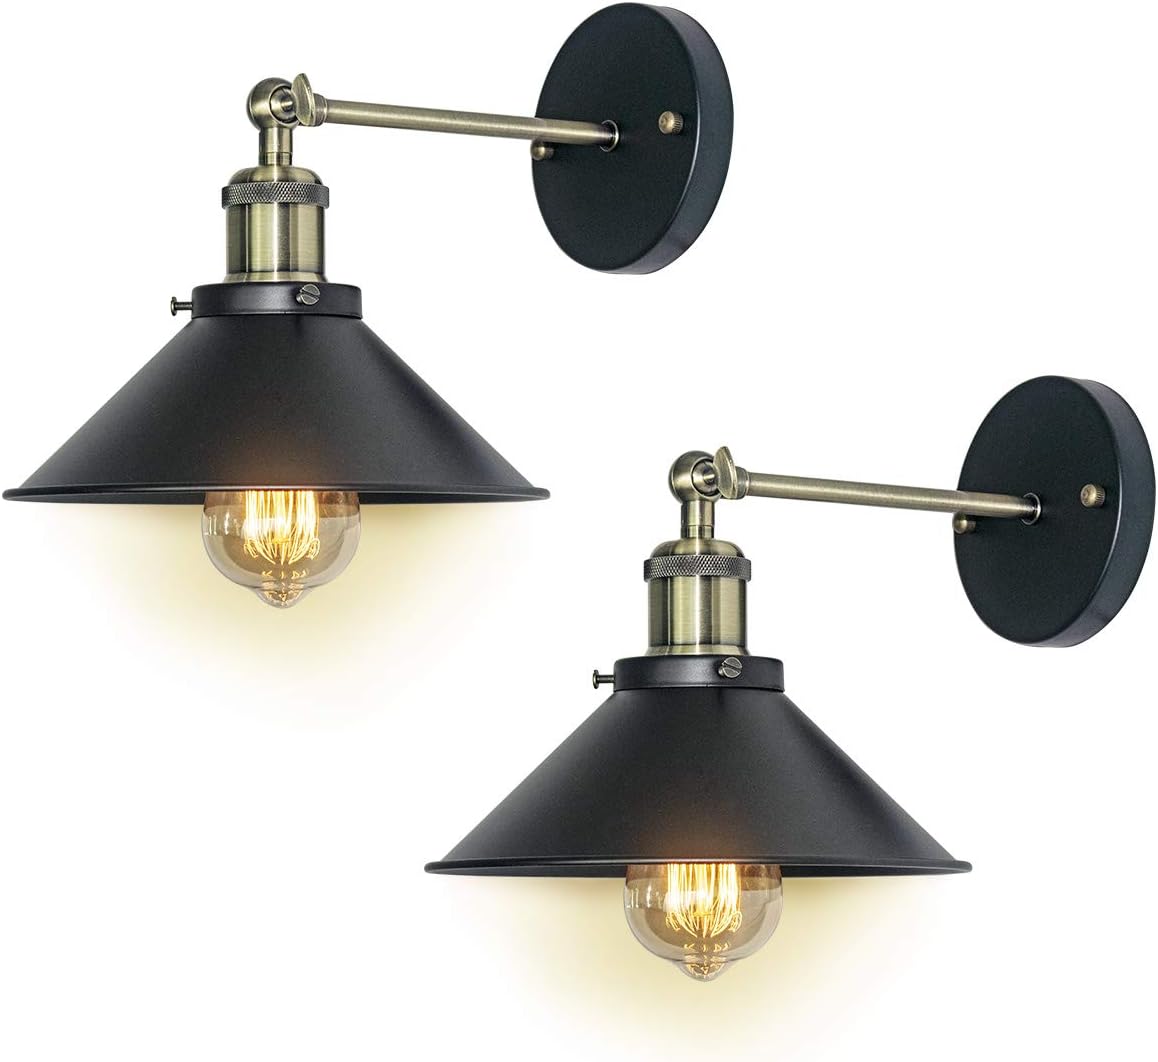
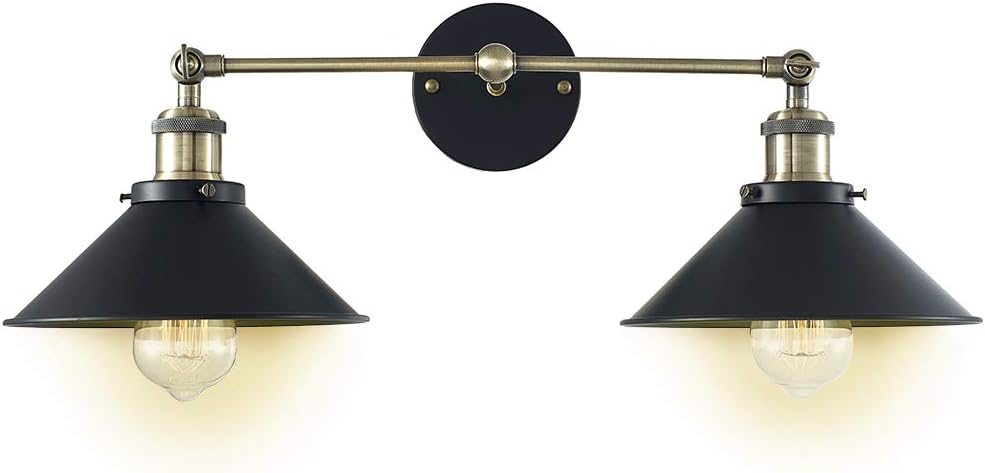
Select Your Sconce of Choice
For this project we selected Black Metal Industrial Sconces from Amazon. What I like about these sconces is they were inexpensive. Currently a 2-pack is $33.99! I also like how versatile they are. They have a 240 Degree Adjustable handle which makes it easy to change around the placement of the sconce cover. Additionally, you have the option of purchasing a 2 pack of individual sconces or purchasing a 2 in one sconce.
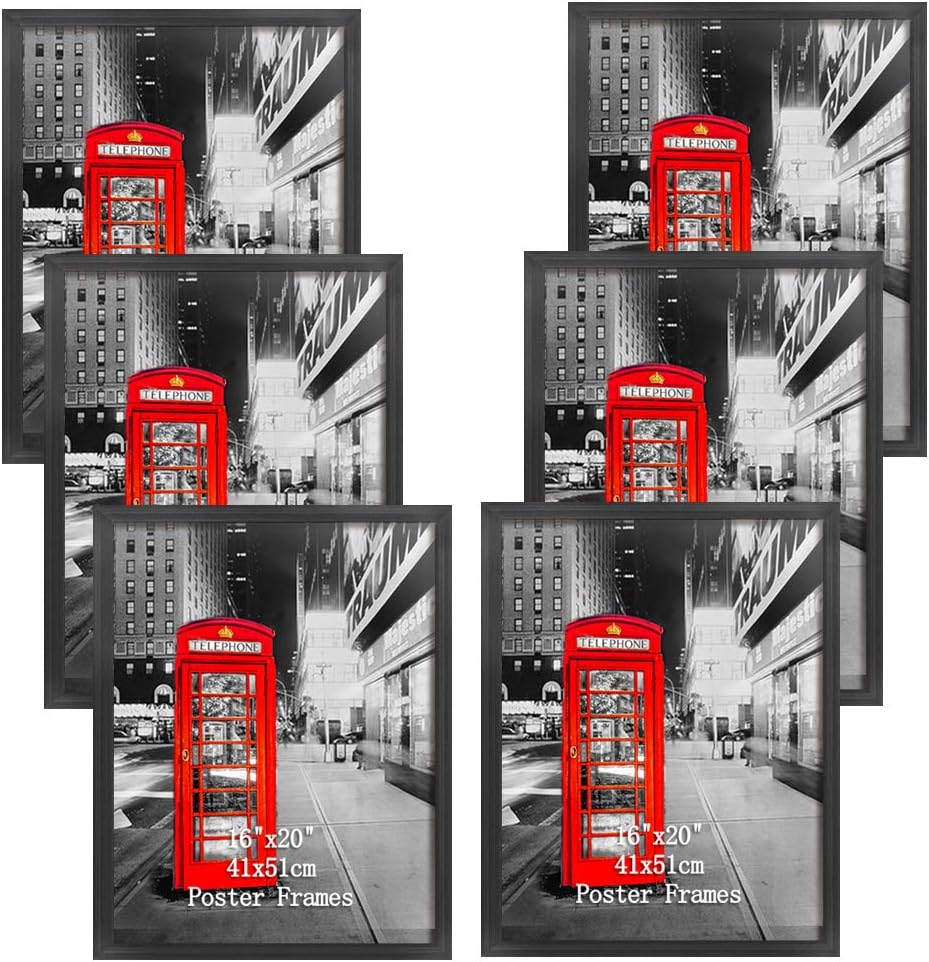
Select Frame
For this particular black and white galley wall, I selected black 16 x 20 frames that I picked up from Amazon. I had to buy the 16 x 20 white mats separately but there are tons of black frames on the market that come with a white mat included. I purchased the white mats from Amazon. We selected black frames for our photos to incorporate more black into the dining room.

Have The Photos Printed
I used Walgreens online to print our photos. What I liked most about Walgreens is that the prints were available the same day. Unfortunately, I will admit the quality isn’t the best. When we change out the photos I will opt for a better quality. I also opted to have the images printed in 11 x 14, which is opening of our white mats.
Remove Frame Paper And Use
Now this is not something I did. However, after doing research on making this an easy process, I found a great idea by The Creativity Exchange. All frames come with a paper photo insert that may just be text or a photo paper of a cute couple or family. Don’t throw the paper inserts away because you can use these to layout the gallery wall that you envision with rolled Scotch tape behind the top two corners on the paper (so you can easily move around) like The Creativity Exchange did below.

Hanging Time
Once we determined the layout we wanted we wanted, we begin by figuring out where we want wanted the top center of the middle top frame to begin. Tip: If it helps, you can begin by roughly laying out all of the frame papers to get you in the zone. Keep in mind that you will need to account for a 1/2″-1″ difference between the paper and the actual end of the lip of the frame (the paper insert is only glass measurement). Place your first paper insert where the center of the paper is the center of the wall.
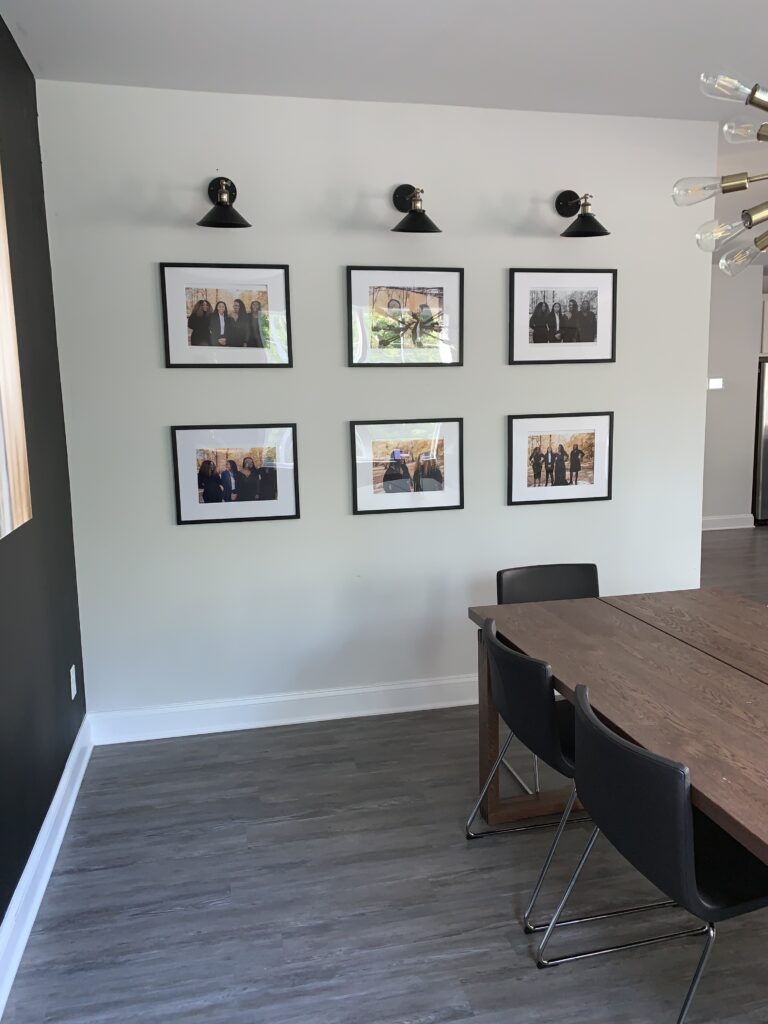
Now hang your pictures! We opted for 2 rows of 3 like pictured above. We used command strips instead of nails. We liked the idea of using them instead of nails because we didn’t want to put holes in the walls. Additionally, don’t forget your leveler to make sure your pictures are perfectly straight.
It’s as simple as that! There are so many endless possibilities when it comes to gallery walls! If you have a blank wall in a space, this is the easiest way to create a beautiful focal point for a small price.
Pamela I truly enjoyed this post especially the tip about using the inserts to lay out the gallery pictures on the wall. The puck light tip was genius. Now to find a wall to create my wall version of this! Thanks for sharing
Awesome Kangelia!! Please let me know how it goes.